It’s no secret that Houston Llew’s Spiritiles have a devoted and enthusiastic following! We are proud to be enablers when it comes to providing his vast collection for your enjoyment. No matter the size of your current collection, it’s important to make sure that each Spiritile in it looks its best by hanging them correctly. Luckily we have all the info to get the best out of your Spiritile display, and even some awesome inspiration from dedicated customers and collectors as well - in fact all the pictures you'll see here are from our customers own displays. You can also find a great instructional video below as well! We’re here to give you the confidence to create the display of your dreams!

Before we get to the literal hanging we recommend taking stock of what you’re hanging. If you’re just hanging one Tile then you can just skip ahead to the hanging itself, but if you are hanging multiple Tiles it is really important to have a plan for the order and shape of your display. It isn’t as complicated as it may seem to create an engaging display if you just take into account how many tiles you are hanging, the colors of your pieces, and the messages they display.
We recommend planning your display by laying your tiles on the floor first. It is much easier to change the order and shape of things when the Tiles are laying on the ground as opposed to trying to make those adjustments when they are already on the wall. You should also understand the measurements and limitations of your wall area and be sure that there is enough space to hold the display you are hoping for.

Here’s some things to keep in mind while laying out your plan:
● Houston recommends 2” between Tiles as his “Ideal Spacing” and we would heed this advice (see picture above, right). As per usual though, we are advocates of what is most pleasing to your own eye. If 4” feels better to you then that’s what you should do (see picture left)!
● On a purely practical note, anything less than 2” between Tiles simply makes the quotations on the sides quite difficult to read!
● Plan your display based on your future intentions. For instance, if you have plans to add more to your collection then it might be helpful for you to factor that into your design so you don’t have to reshuffle everything as those additions are made.
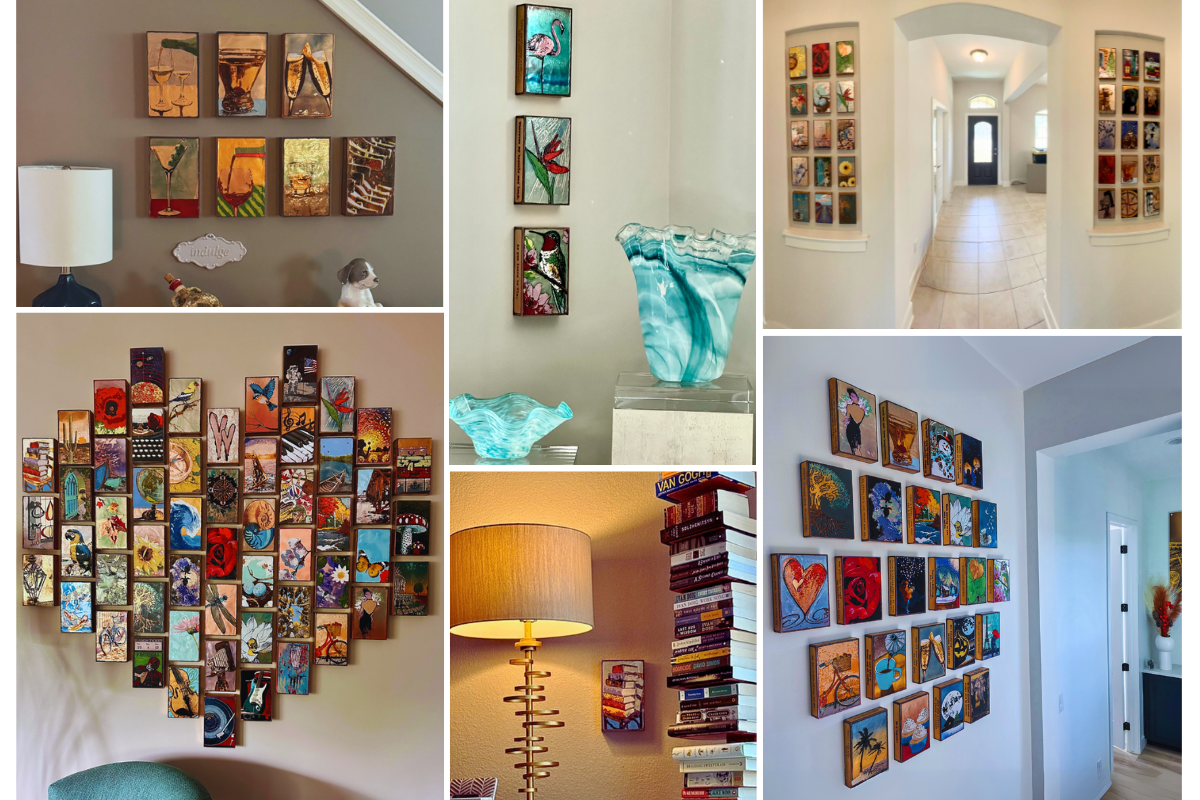
● Get creative with layout! Just because the Tiles themselves are rectangles does not mean you have to stay confined to squares and rectangles in your displays. Take a look at our customer displays for some fun diagonal and zig zag patterns (see pictures below) - you could also create a heart or pyramid - go wild!

We have seen displays curated by color, by quote, by feeling, and even some that are just completely random - the great thing about Houston’s Spiritiles is that most all of them look great together and punctuate each other.
Once you have decided on the shape of your display and the order of your pieces, it’s time to get to the good stuff! All you need is a couple of basic tools:
● Screws (1.25” drywall recommended)
● Screwdriver
● Tape measure
● Level or laser level (optional)
 Make
sure you have a
screwdriver that
matches the head of your chosen
screw,
and having a tape measure handy will
ensure accurate spacing between tiles. If you want to get really serious and/or
you are hanging multiple Tiles, you might look to employ the use of a
laser level that will definitely speed
up the process and guarantee your tiles are straight across the whole display.
A regular
level is fine too, but the
laser attaches to the wall and creates the laser line on your wall so you don’t
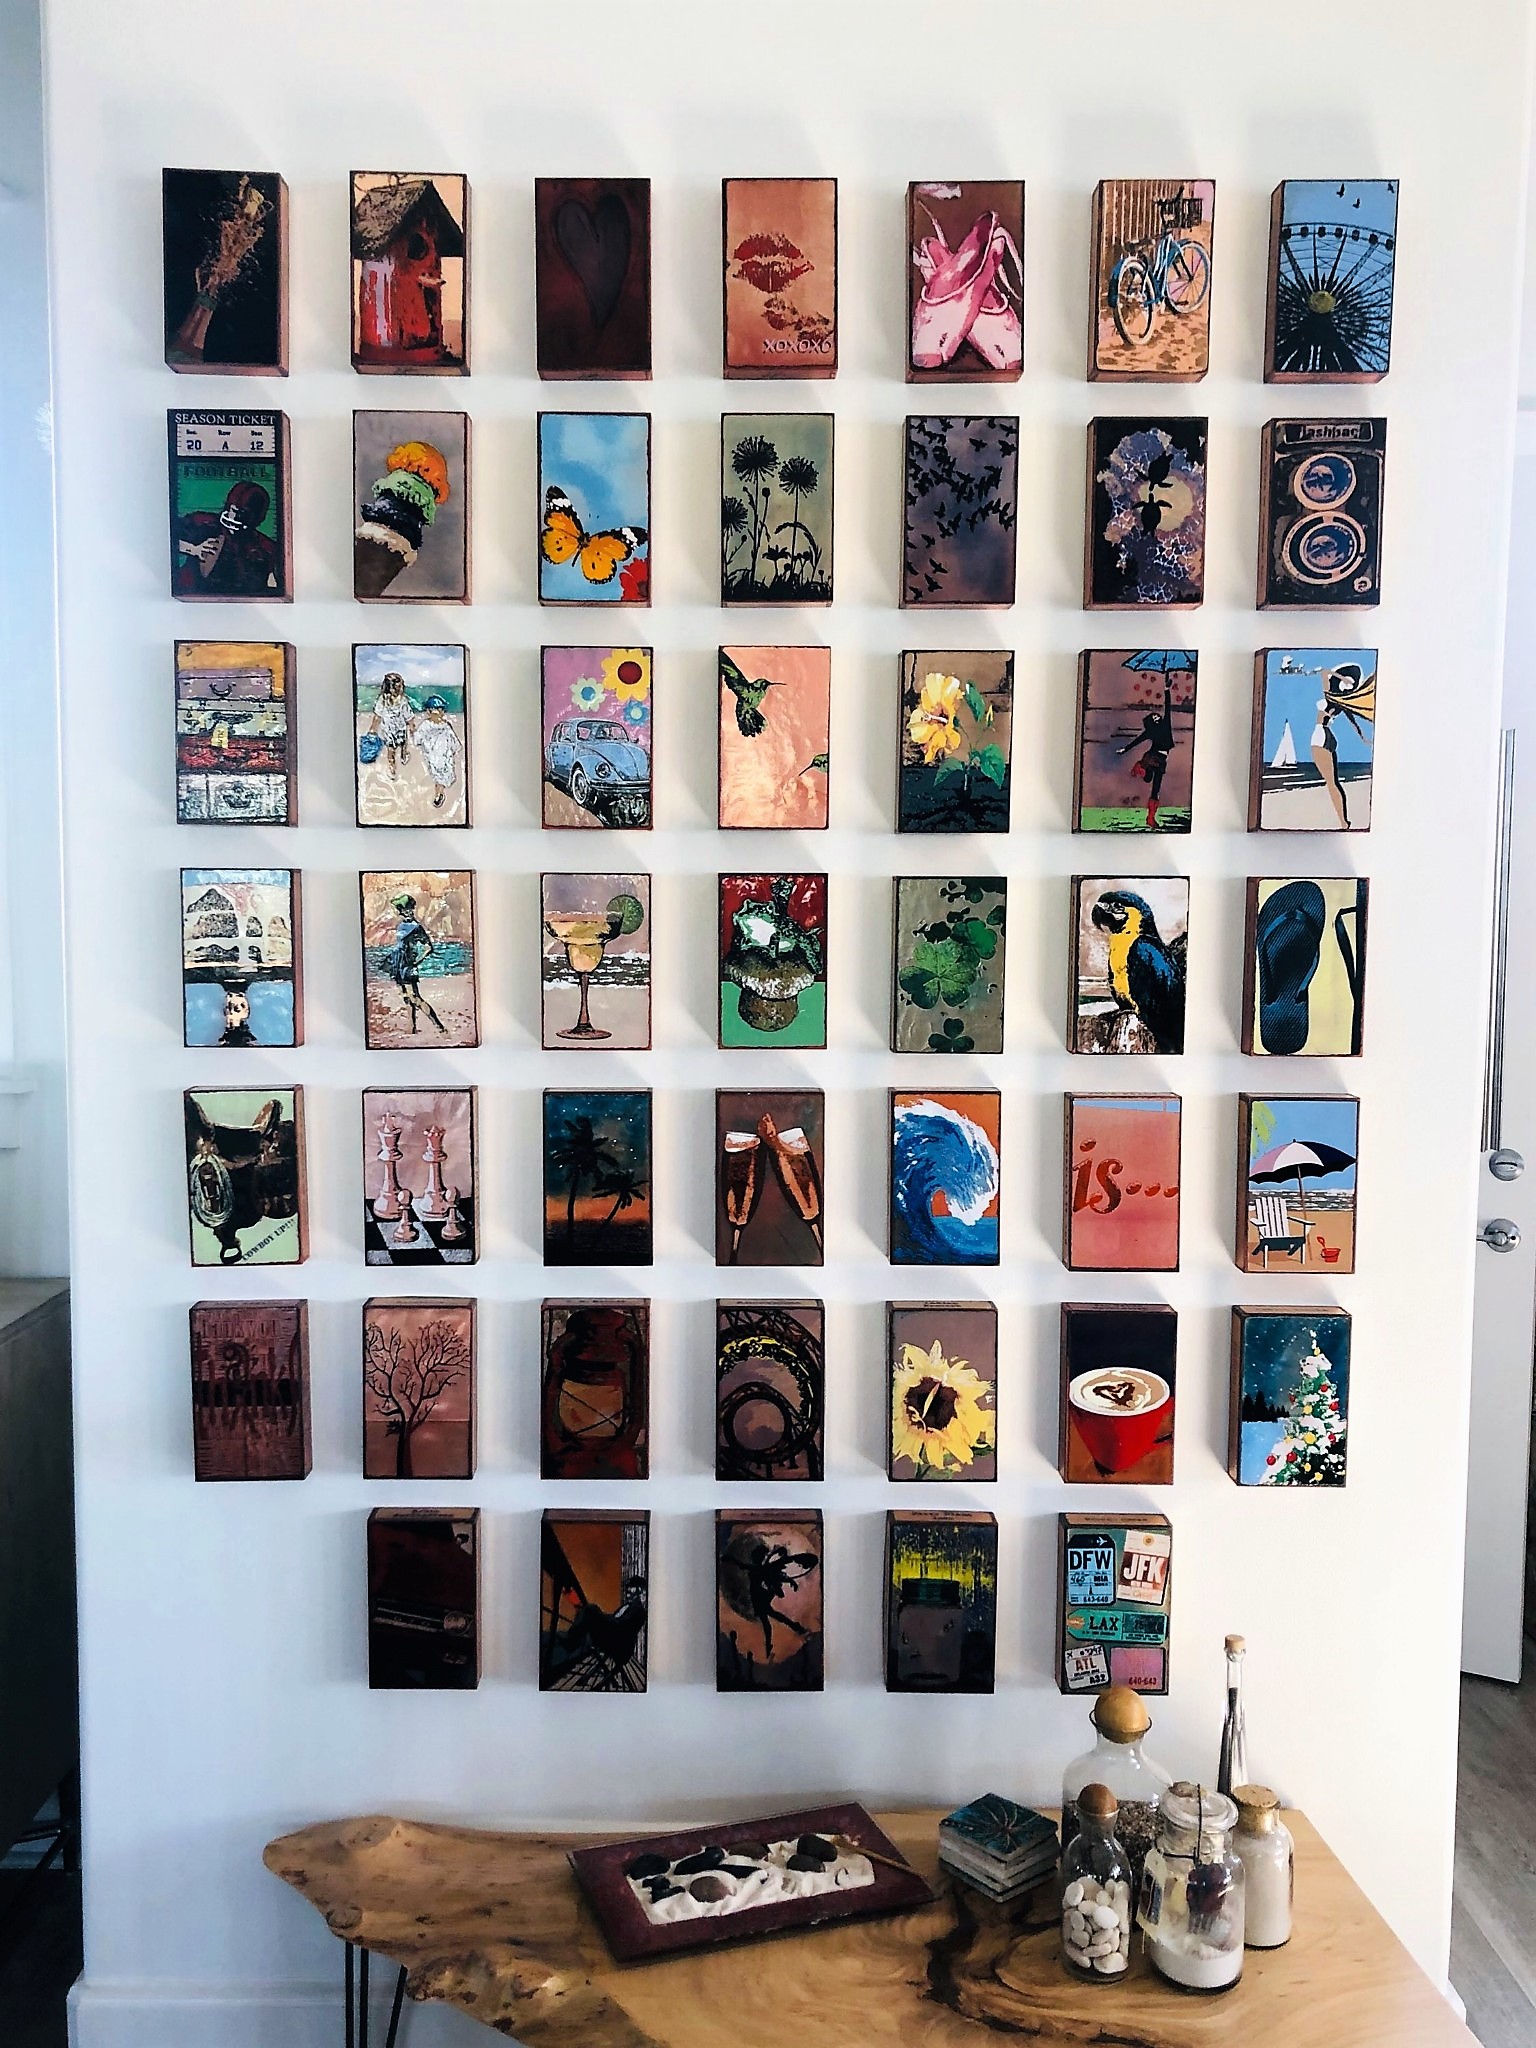
have to keep holding up a level to double-check your lines. The effect of a perfectly level and measured display is deeply impactful and visually stunning (see picture left).
Make
sure you have a
screwdriver that
matches the head of your chosen
screw,
and having a tape measure handy will
ensure accurate spacing between tiles. If you want to get really serious and/or
you are hanging multiple Tiles, you might look to employ the use of a
laser level that will definitely speed
up the process and guarantee your tiles are straight across the whole display.
A regular
level is fine too, but the
laser attaches to the wall and creates the laser line on your wall so you don’t
have to keep holding up a level to double-check your lines. The effect of a perfectly level and measured display is deeply impactful and visually stunning (see picture left).
Houston recommends using a 1.25” drywall screw to hang your Tile. Screw it straight into the wall, being sure to leave about .25” of the screw out of the wall. The hole on the back of the Tile is purposefully set at a slight angle. The combination of the angle of the hole and the weight of the tile itself pulls the piece against the wall for the perfect mount. Once your screw is in the wall, just line it up with the hole on the back of the Tile, slip it on, and that’s that!
If you are following Houston’s Ideal Spacing of 2” then before your tiles are on the wall your screws will be 7.25” apart horizontally and/or 10.5” vertically - this is especially helpful information if you are making a square of rectangular display. You can put all your screws in at once and then go ahead and hang all your Tiles. Want help? Visit this link here to request templates. The work is done for you! Simply hang one of the templates (albeit level) and mark where noted.
J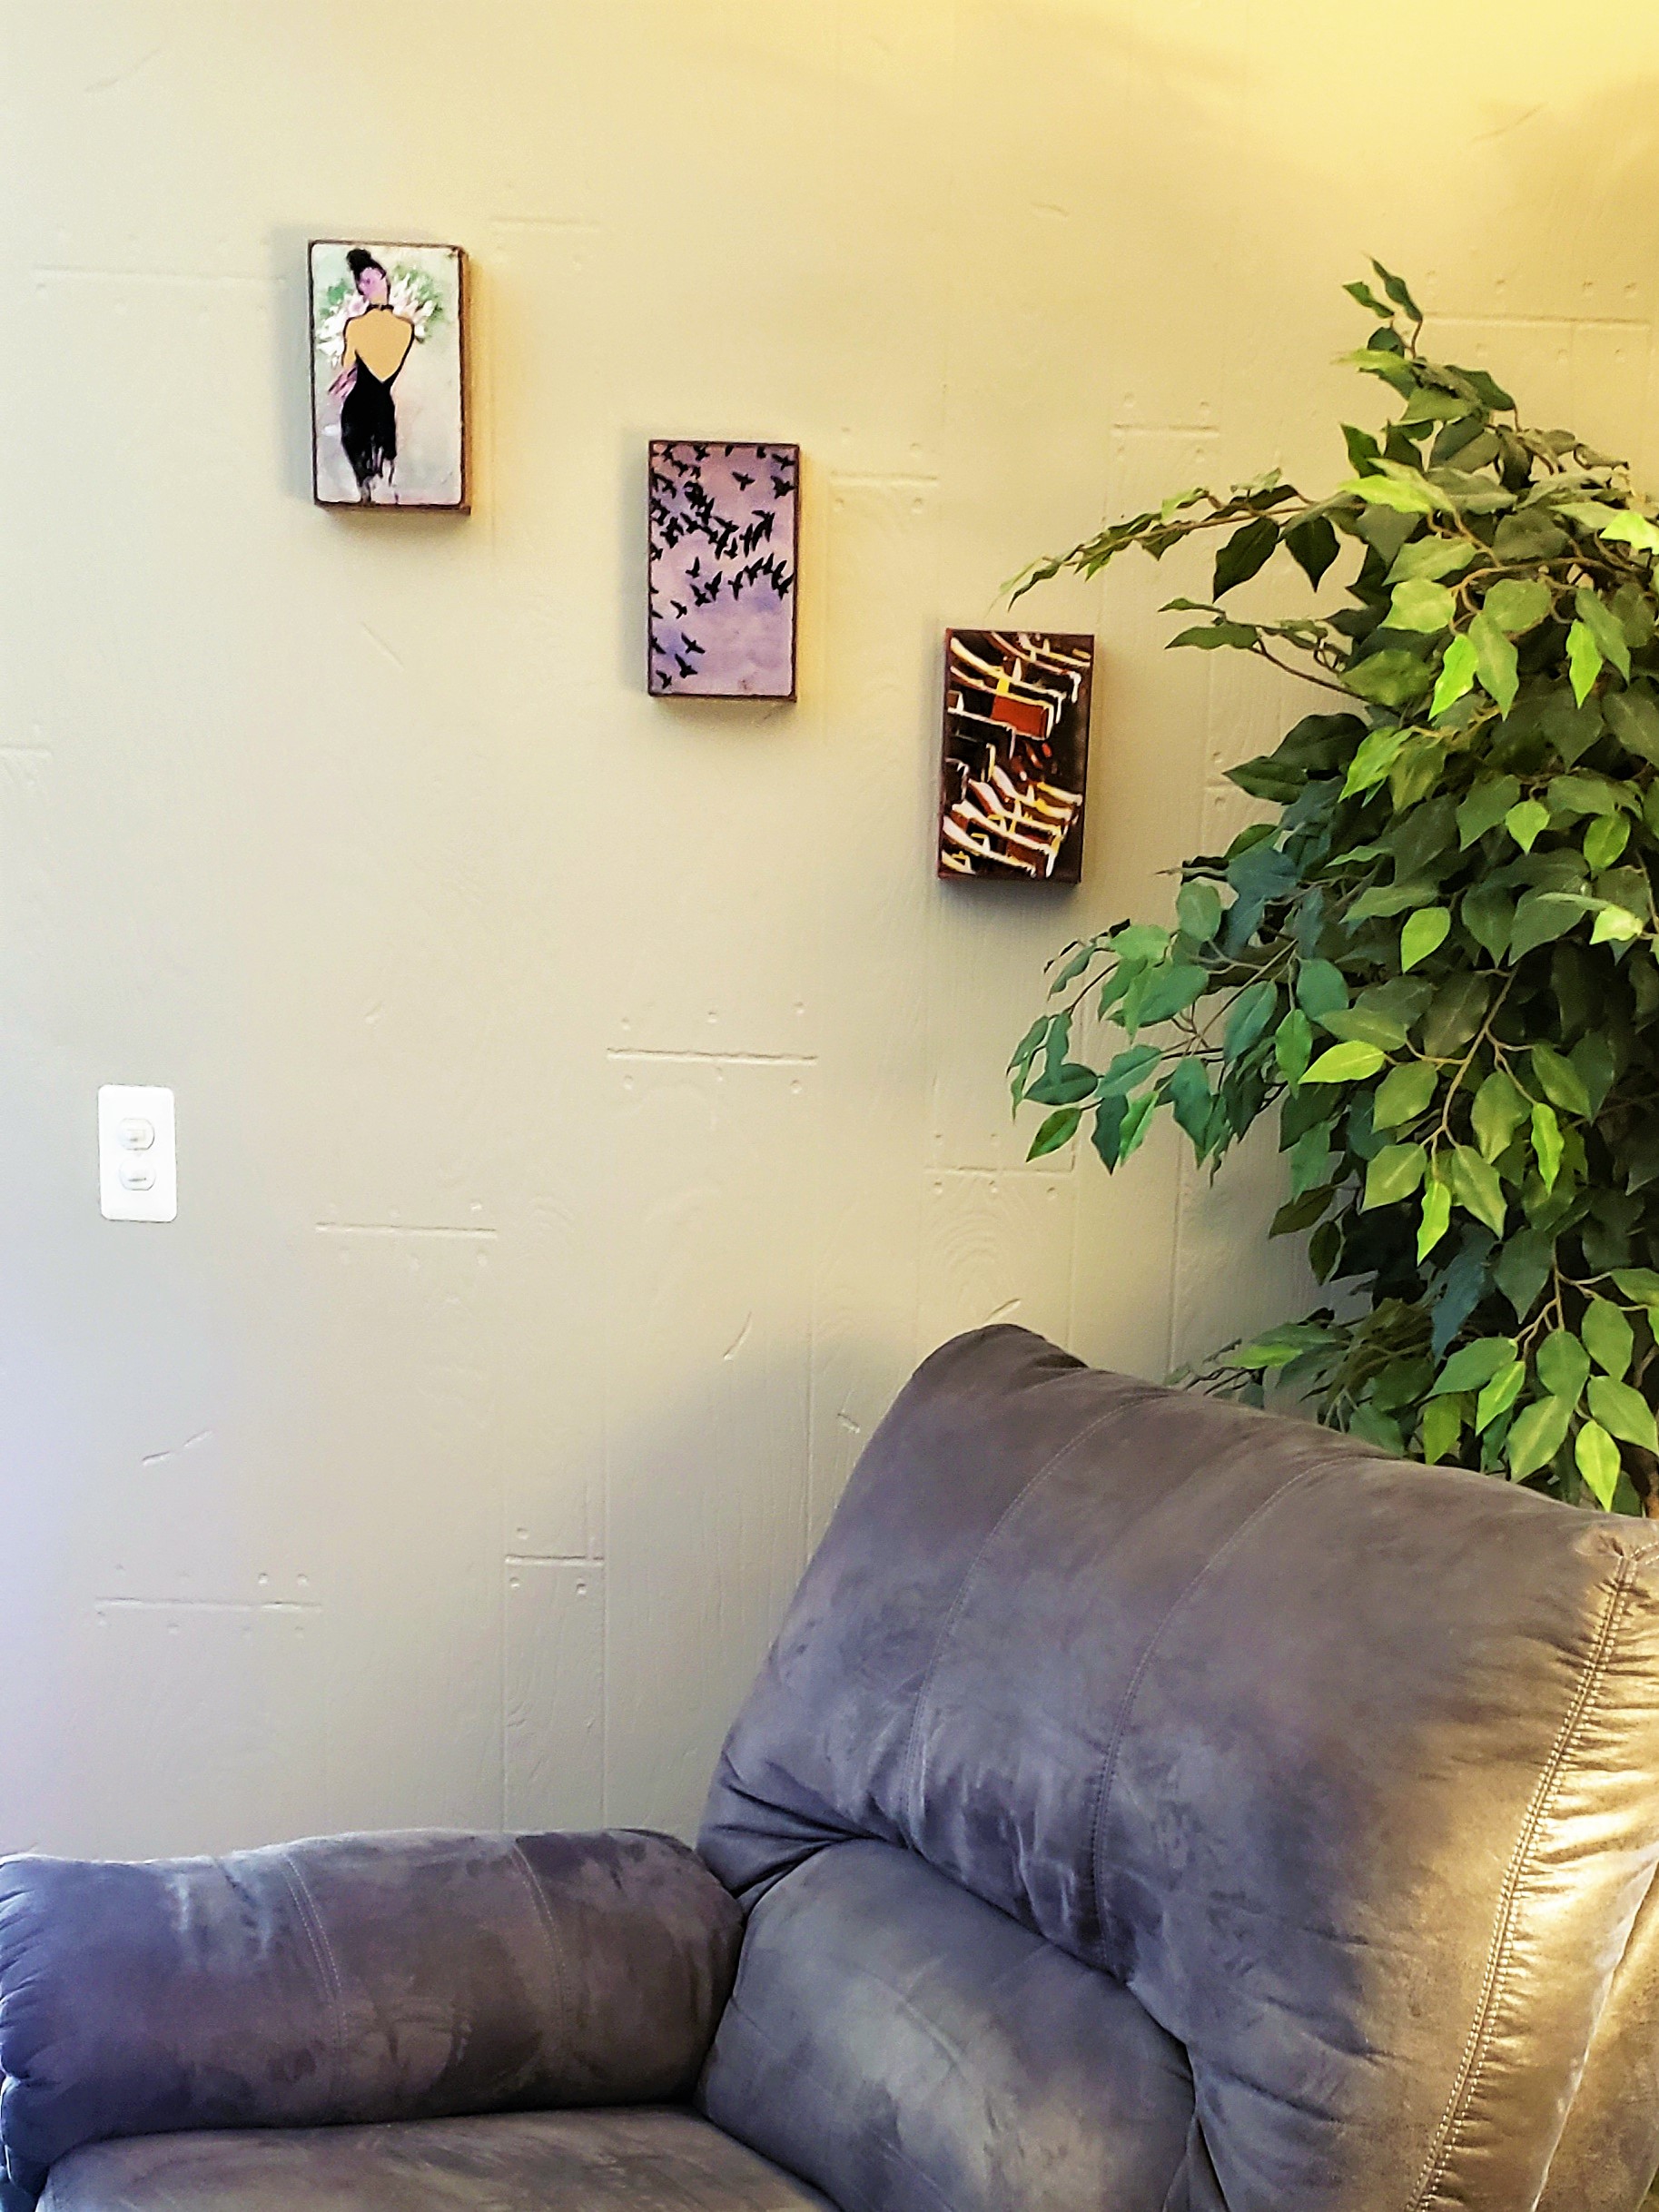 ust
because you hang your Tiles in a certain order does not mean they have to stay
in that order! Change it up as you add new Tiles, switch the order by the
seasons, or just mix it up when you feel yourself getting uninspired! The ease
of hanging these pieces are just another part of what makes them so wonderful.
ust
because you hang your Tiles in a certain order does not mean they have to stay
in that order! Change it up as you add new Tiles, switch the order by the
seasons, or just mix it up when you feel yourself getting uninspired! The ease
of hanging these pieces are just another part of what makes them so wonderful.
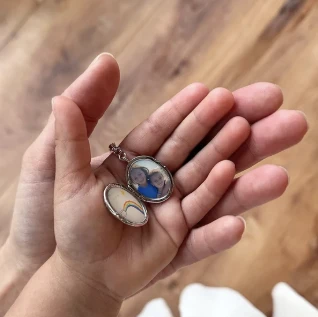
PSA: You don’t have to hang your Tiles at all! The size and shape of Spiritiles means you can sit them on tabletops, counters, windowsills or shelves. Lean them on picture ledges if you don’t feel like making all the measurements or putting that many screws into your walls. Get creative, as creative as the Tiles themselves!
Hanging Houston Llew Spiritiles | Givingtreegallery.com